I have to say, that I never anticipated the popularity of my
DIY Twistband post. It was my first post to blogger and at the time, I figured that since I was able to successfully replicate these cute hair ties, I would share my knowledge. Very recently, a comment mentioned lace Twistbands and that had me considering my own attempt at lace ones. After my original post, I came across black lace foldover trim at my local fabric outlet and I bought a yard for $0.50 just to see if it would turn out well. FYI, one yard of trim can produce around 5 hair ties, so it's $0.10 a piece!
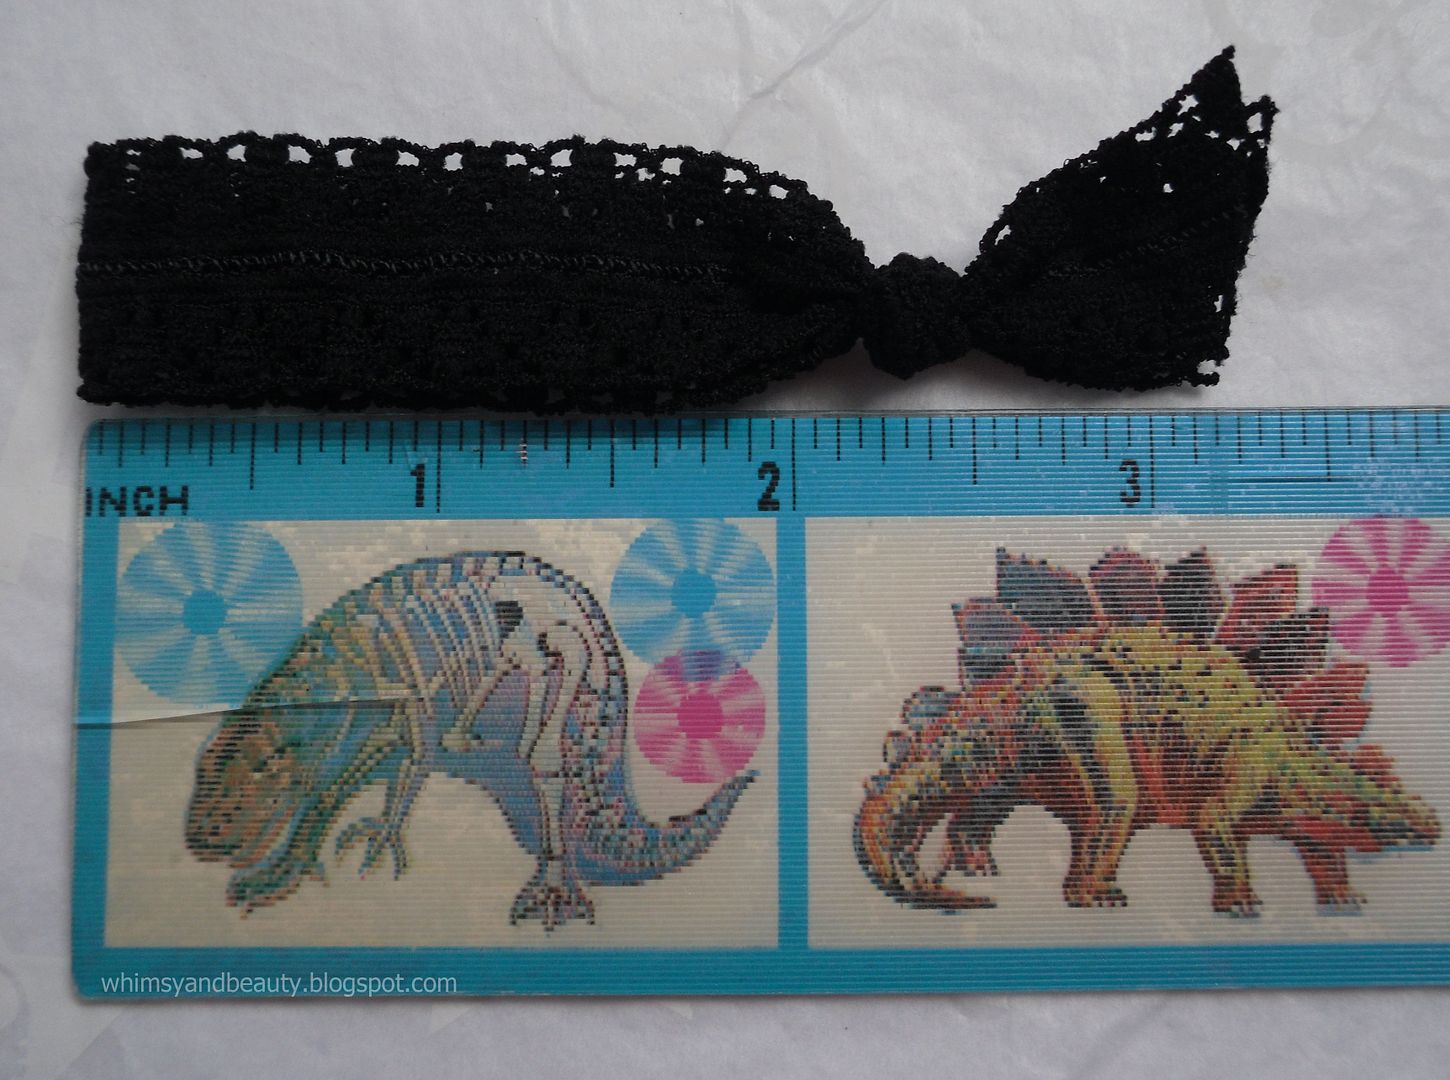
Since making my initial pair of lace ties, I gave one to a friend and consistently used the one I still possessed for months. I found that the lace design allows for more elasticity and eventually, my tie got all stretched out from use. In fact, from measuring, my tie was stretched out by 1/4 of an inch, as can be seen below.
 |
| Originally, there was 2 1/2 inches of trim below the knot. Now it measures around 2 3/4 inches. |
So, let's get on with my tutorial for working with lace foldover trim and making it into a hair tie. You will need only three things for this craft, a pair of fabric scissors, a ruler, and
foldover lace trim that is
5/8 of an inch in width.
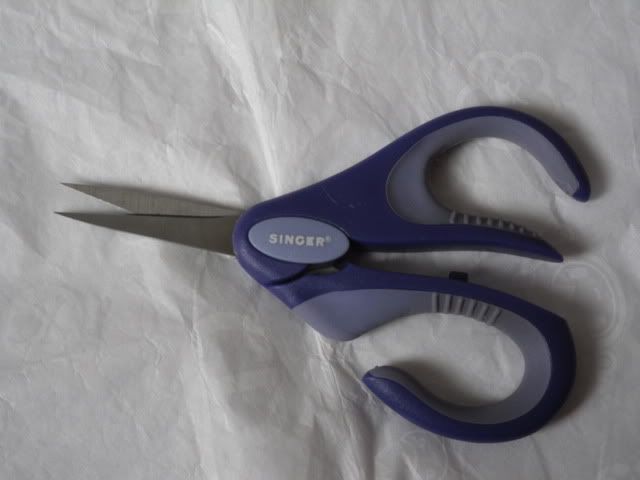 |
| Singer fabric scissors were what I had on hand. |
|
|
Now take your lace trim and measure around 8 1/2 or 9 inches and snip it. The length is really for how much loose trim you'd like to leave to create that ribbon-like appearance to your tie.
 |
| I eyeballed somewhere between 8 and 9 inches for mine. |
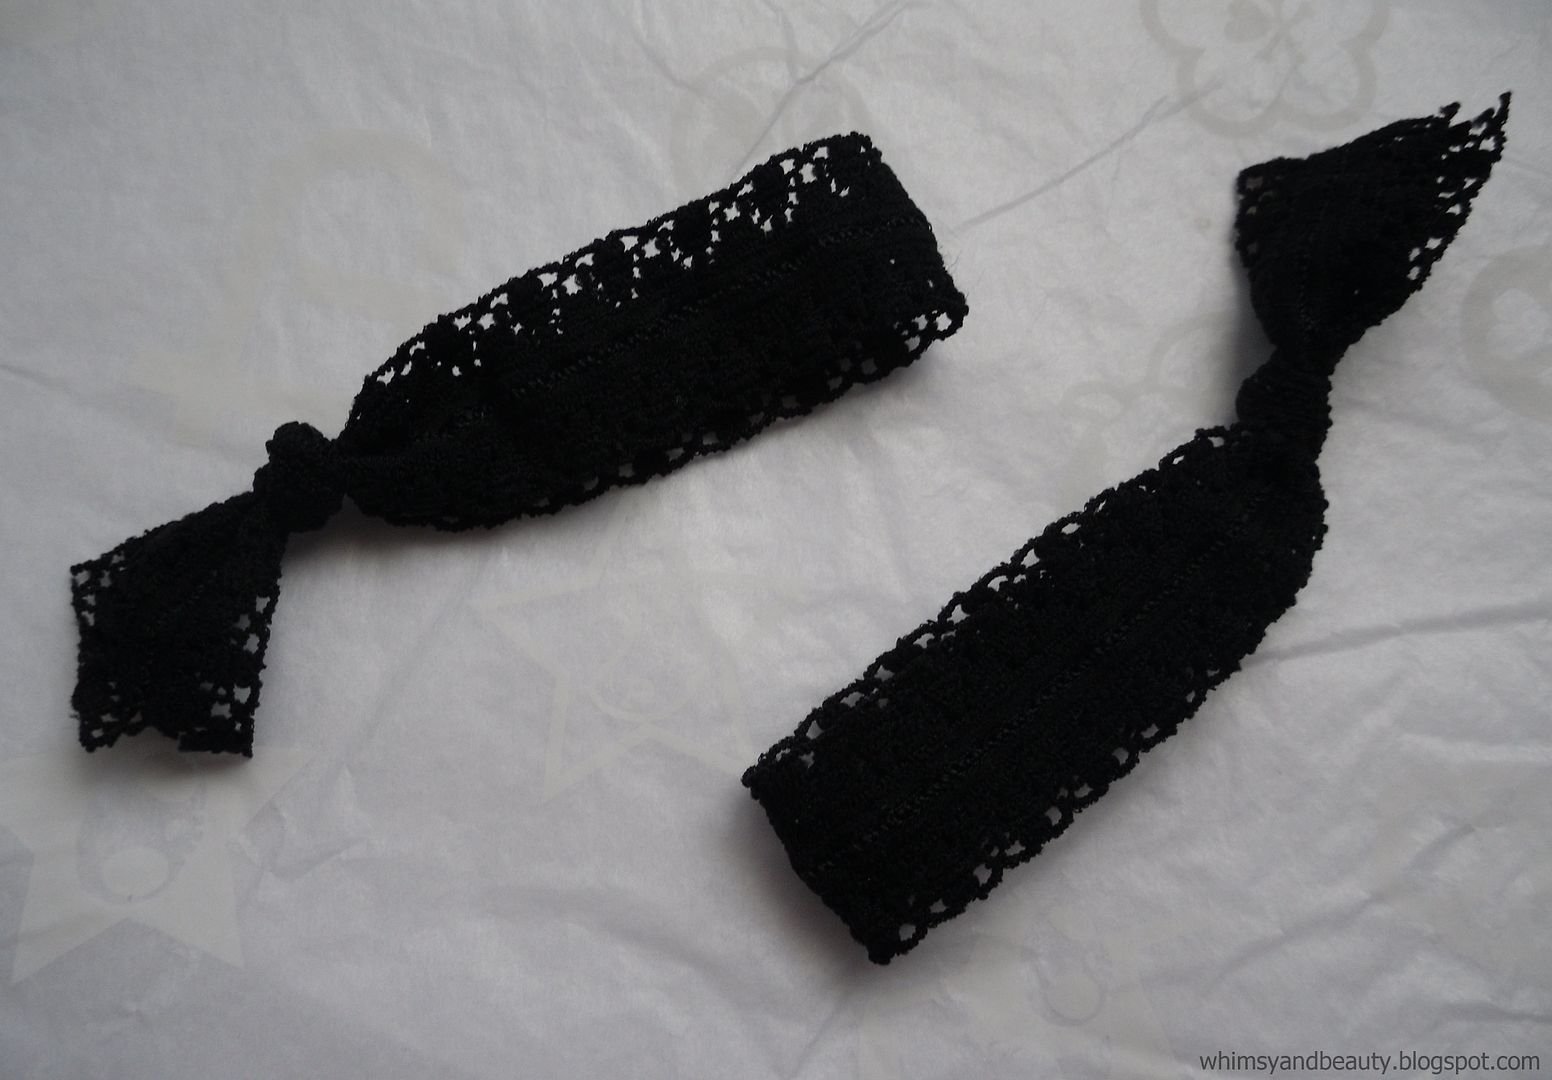
After, fold your cut trim in half and tie a single basic knot near the side with loose ends. Unfortunately, the color black makes seeing the contrast difficult...
So here's an old photo of the knot needed!
 |
| As mentioned in my original post, I used an extra long piece to demonstrate the knot. |
Be sure to leave 2 1/4 inches of trim below the knot. Since the structure of the lace trim tends to lead to a stretched out hair tie, I figured that shortening the length a bit will compensate for any extra length caused by stretching over time.
Lastly, cut a bit of the loose ends in a diagonal to create that ribbon appearance, and there you go! I find that these look super cute worn around the wrist as well as opposed to your usual elastic hair ties.
I hope that this was helpful because I fully realize that my instructions are probably really similar to my original post, but I decided that instead of cluttering up my first Twistband post with additional photos and info, a new one would be more organized. I at least hope that my tips of handling the lace version of foldover elastic trim was useful.


No comments:
Post a Comment